Stop wasting materials
Essential Tips for Laser Engraving Success
Whether you’re a seasoned professional or a hobbyist, the last thing you want is to waste valuable materials due to subpar engraving techniques. Fortunately, there are several essential tips for laser engraving can help you achieve success while minimizing material wastage.
From using masking tape to protect surfaces to utilizing presets for different materials and thicknesses, this blog will guide you through the crucial steps to ensure a flawless engraving process.
LASER ENGRAVING TIPS AND TRICKS FOR BEGINNERS
1. Choose the Right Materials
Different materials react differently to laser engraving. For instance, wood offers a rustic charm, while metal exudes a sleek and sophisticated appeal. Experiment with various materials to discover the effects and possibilities each one holds. Remember to adjust the laser settings accordingly for optimal results.
2. Prepare Your Material:
Ensure your material is clean and free from dust or debris. Preparing for laser cutting or engraving involves a few important steps. Here are some simple and effective ideas to ensure successful results:
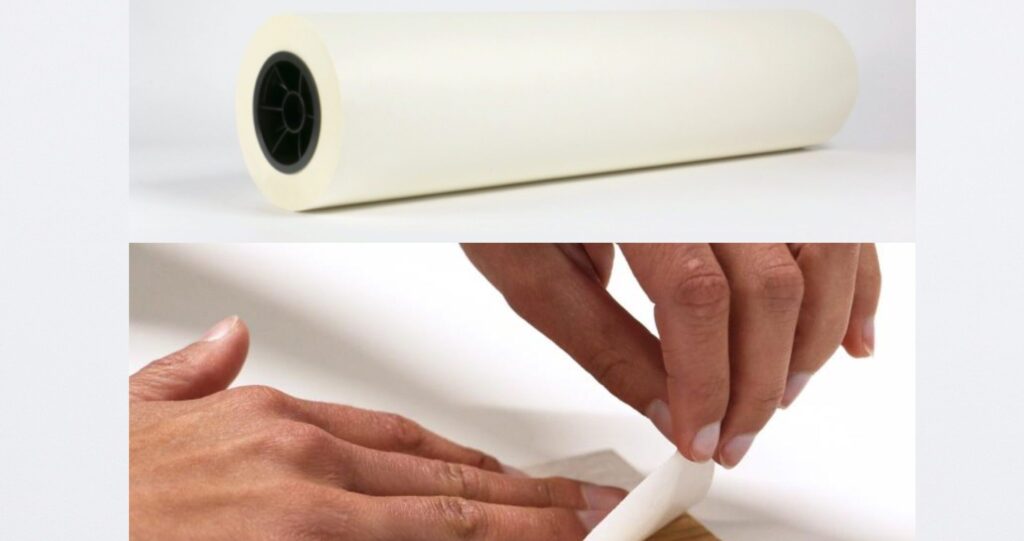
Masking Tape:
Use masking tape to protect the surface from any potential damage during the engraving process. This protective layer won’t significantly affect the laser’s power, but it will shield the surrounding material from smoke. Once the engraving is complete, simply peel off the masking tape. This technique is particularly useful when engraving on delicate materials like leather.
Presets:
Most laser cutters come with suggested settings for various materials and thicknesses. These settings can be saved as presets on your computer or laser. It’s important to give these presets meaningful names for easy reference. By utilizing presets, you can quickly access the optimal settings when working with specific materials, such as leather or 1/8” thick acrylic.
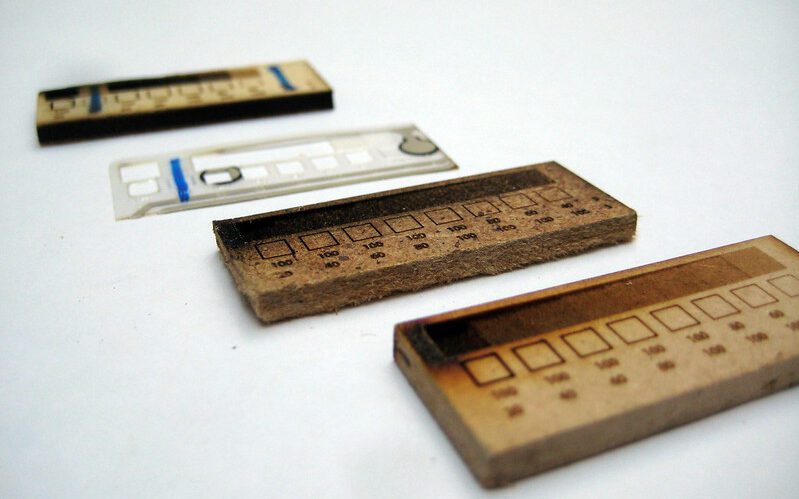
Test Cuts:
Before running the final job, even when using presets, it’s wise to run a test cut before starting the full job. This ensures that the laser will cut through the material. Create a small circle or square (about ¼” or ½” wide) and cut it out in a corner or on scrap material. By examining the result, you can determine if any adjustments to the power are necessary before proceeding with the final cut.
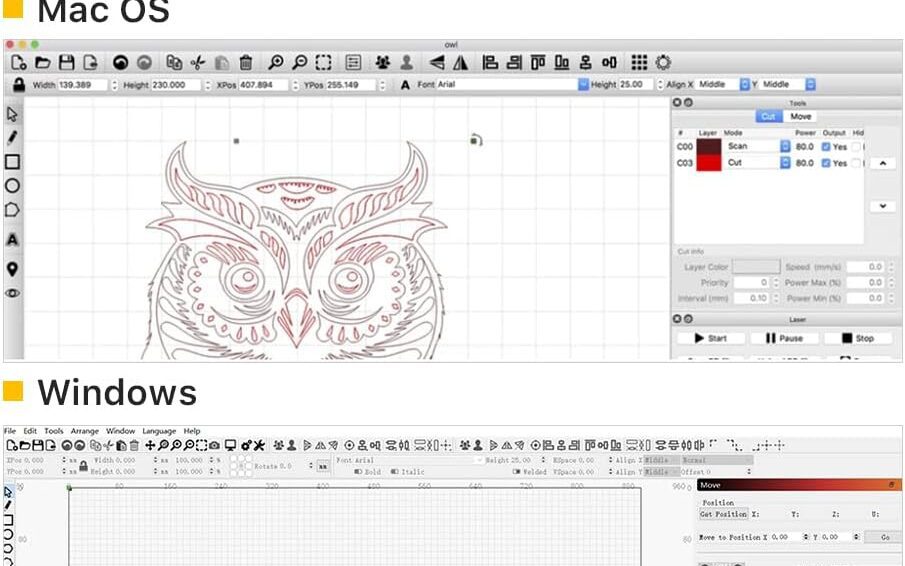
3. Use Layers:
Utilize layers in your design software to control the order of cuts. This allows for precise control over the depth and appearance of your engravings.
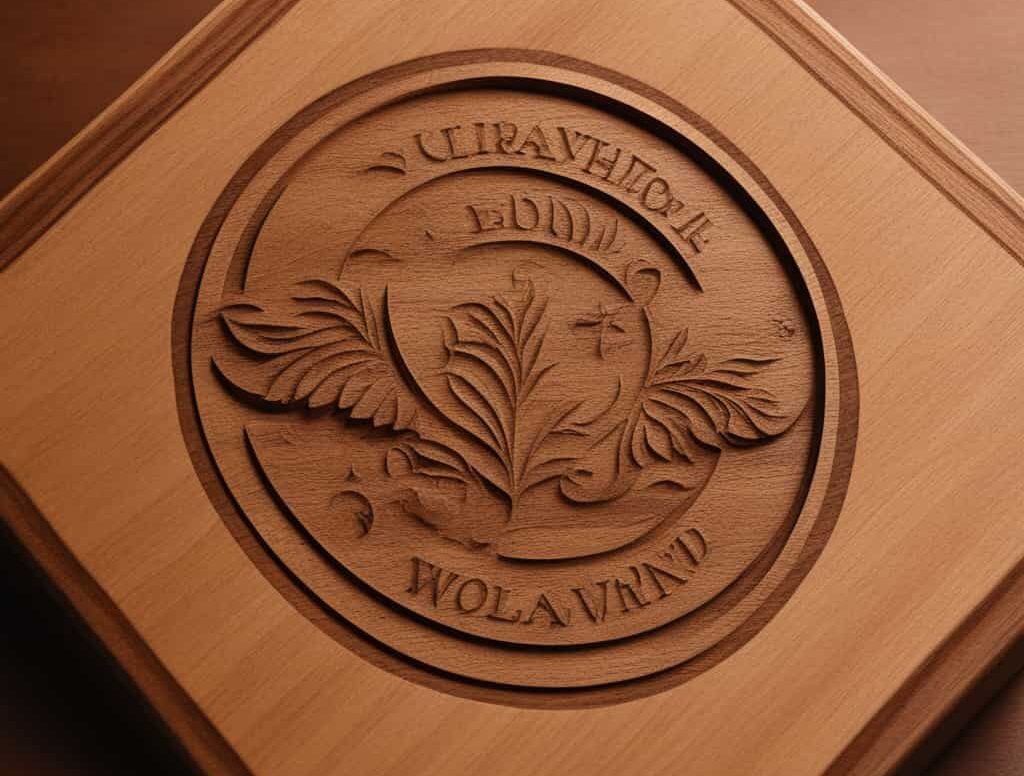
4. Consider Wood Grains:
When engraving on wood, take into account the direction and pattern of the wood grains. Different grains burn differently, so adjusting the settings accordingly will result in stunning and consistent engravings.
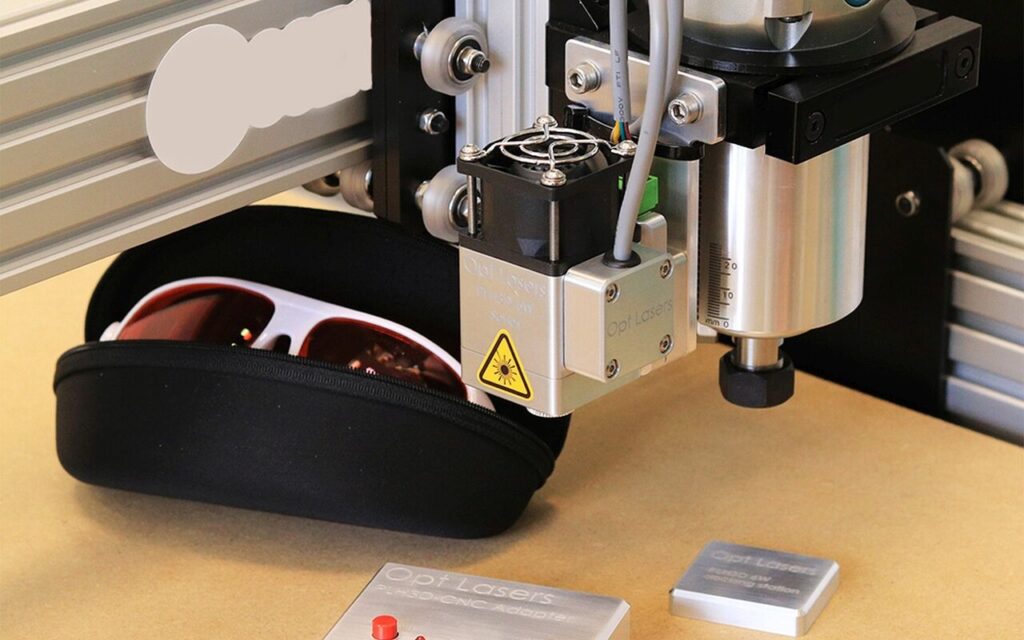
5. Safety Precautions
Safety should always be a top priority. Ensure you have the necessary protective gear, such as safety glasses, to shield your eyes from the laser beam. Familiarize yourself with the machine’s safety features and follow proper operating procedures to prevent accidents.
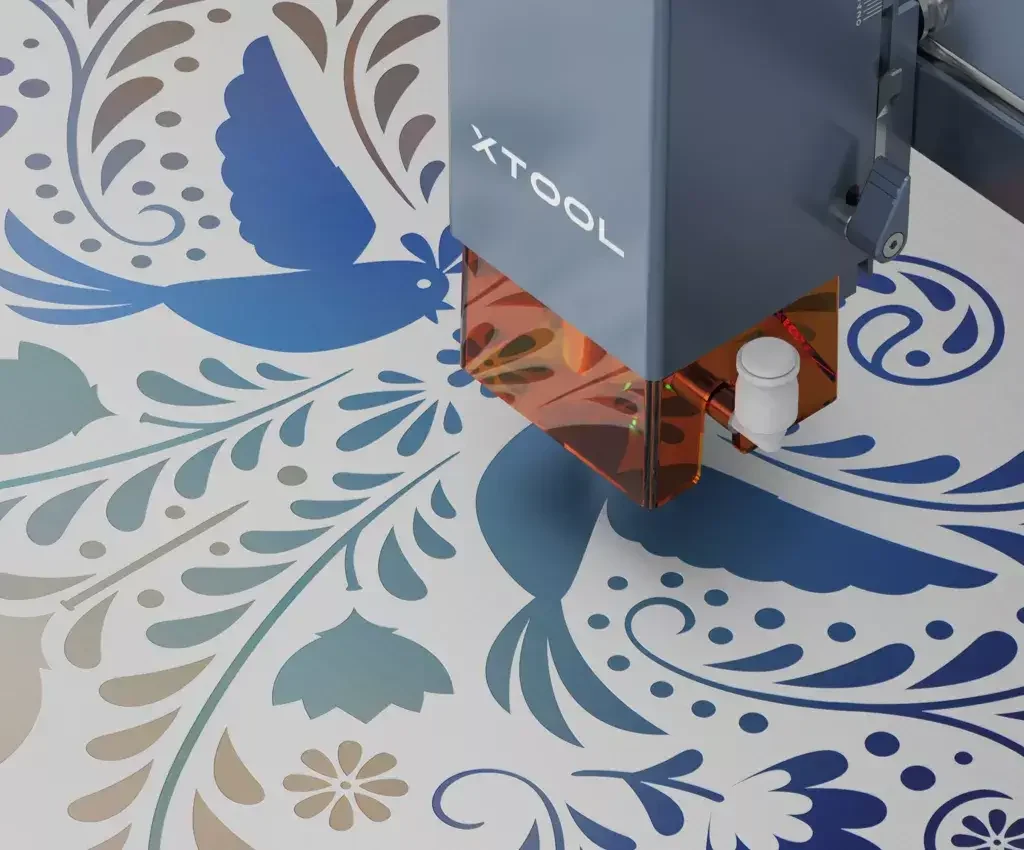
Explore Creative Techniques:
Experiment with grayscale, dithering, and other engraving techniques to achieve different effects and levels of detail. This will add depth and uniqueness to your creations.
3D Engraving
Add depth and dimension to your engravings by utilizing 3D engraving techniques. This involves adjusting the laser’s power and speed settings to create varying levels of depth, resulting in visually captivating designs.
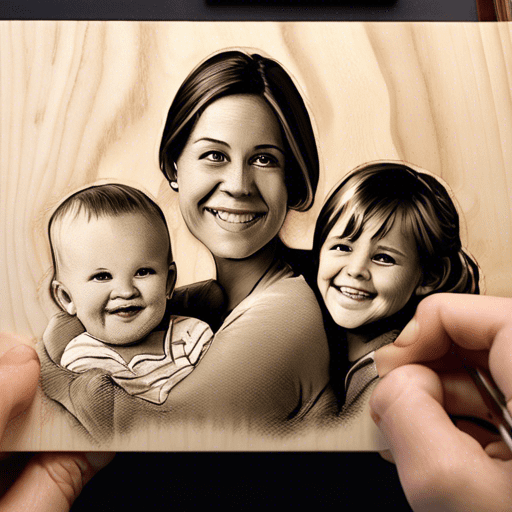
Photo Engraving
Capture precious memories by engraving photographs onto various materials. With the right software and techniques, you can transform a cherished image into a unique keepsake.
Color Filling
Enhance the visual impact of your engravings by incorporating color. Experiment with different methods, such as acrylic paint or specialized dyes, to infuse vibrant hues into your designs.