HOW TO LASER ENGRAVE GLASS SAFETY AND EFFECTIVELY?
GLASS LASER ENGRAVING
Laser engraving glass can be a rewarding process, but it requires careful attention to safety and technique to achieve the best results.
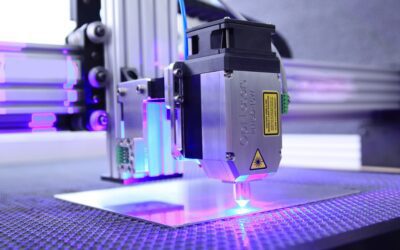
Glass laser engraving is very effective, yielding a near-white frosted effect with sharp detail, making it suitable for intricate designs. The versatility extends to both flat and rounded glass objects, opening doors to diverse creative expressions. CO2 lasers demonstrate exceptional proficiency in etching glass, inducing micro-cracks to create an enchanting frosted effect on the material. Leveraging advanced features such as the 3D Camera combined with the Rotary mechanism enables the creation of intricate and contrasting etchings on glass.
The interaction of glass with the laser sets it apart from other materials, relying on heat to create delicate microfractures on its surface.
UNDERSTANDING GLASS PROPERTIES
Glass primarily consists of silica, with added minerals for color and characteristics. Glass can only be engraved, not cut, and it reacts differently to the laser compared to other materials. The laser’s interaction with glass differs from other materials, as it heats the glass to create microfractures on its surface.
IMPORTANT SAFETY PRECAUTIONS FOR GLASS LASER ENGRAVING
- Glass can only be engraved, not cut, and the debris after engraving may remain on the object, posing a risk of cuts and glass embedded in the skin. Use protective gloves when handling glass to prevent injury.
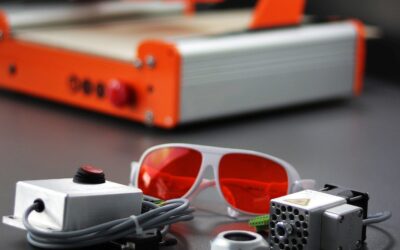
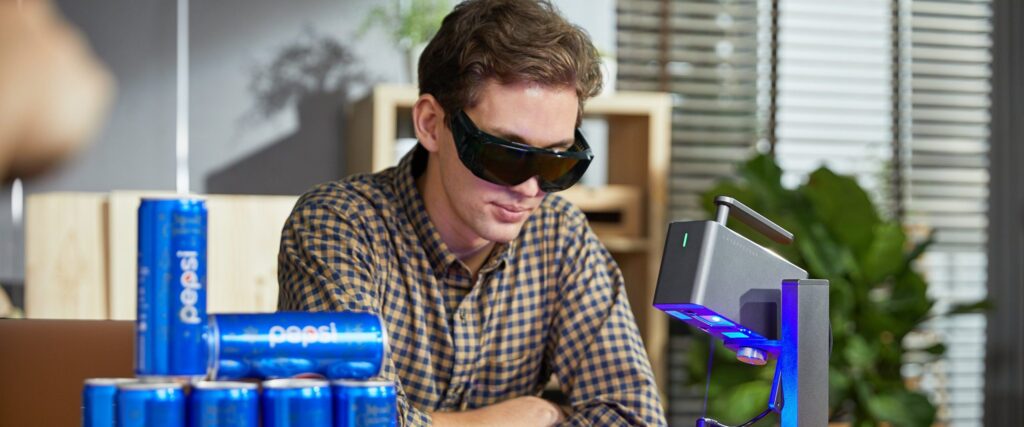
- Avoid looking directly at the object while engraving due to the brightness of the reflected light, with the option to inquire about tinted glasses for protection.
- Proper Ventilation, ensure proper ventilation in your workspace to mitigate the fumes generated during the engraving process.
- Keep the work area clear of clutter and potential hazards to maintain a safe environment.
- Avoid Overheating, be mindful of the heat generated during the engraving process, as overheating can lead to glass shattering, necessitating careful handling and the availability of heat-resistant gloves.
- Engraving the same spot-on glass multiple times significantly increases the risk of breakage.
- Testing and Calibration, conduct test runs with different power settings to determine the optimal engraving parameters for the specific type of glass being used.
Considerations
- Glass reacts uniquely to CO2 lasers, requiring careful testing and adjustment of power settings.
- It’s important to note that excessive power can lead to thermal expansion and cause glasses to crack, so utilizing lower power settings and performing multiple passes may be more effective.
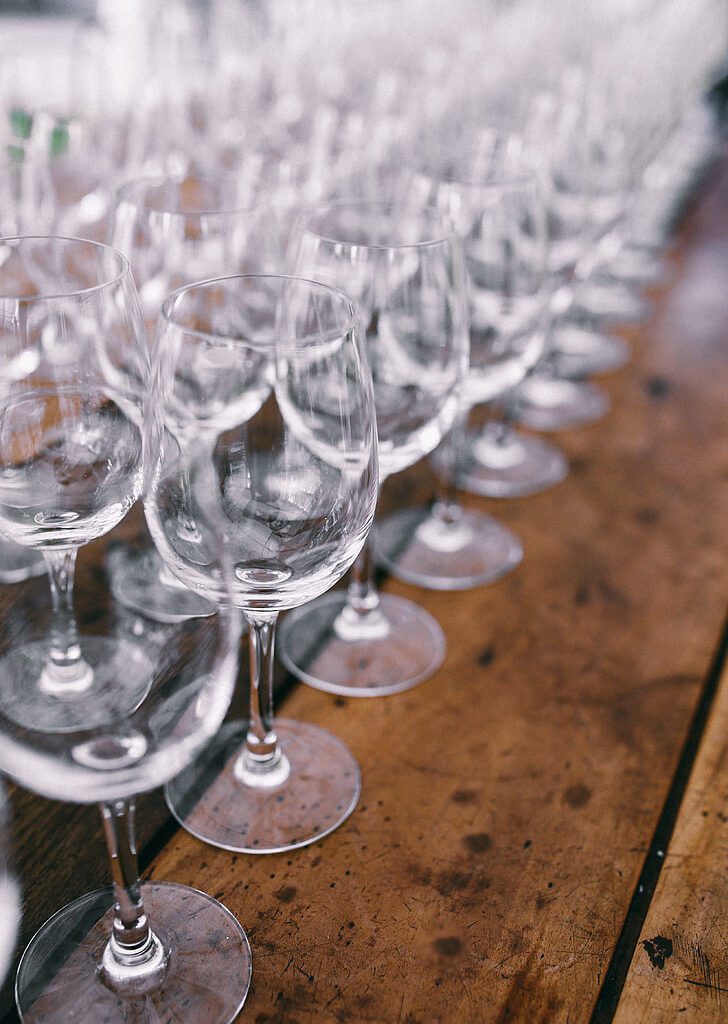
- Rotary attachments are recommended for engraving bottles and glasses to maintain consistent focus.
- When using open air machines, it is essential to take measures to block the laser from scattering.
TECHNIQUES AND BEST PRACTICES
- Optimizing Laser Settings: Fine-tune your laser engraver settings to achieve optimal results on glass. Adjust the power, speed, and frequency settings to suit the intricacy of your design and the type of glass being engraved.
- Choosing the Right Glass: Selecting the appropriate type of glass is pivotal to the engraving process. Opt for high-quality, low-iron glass for superior clarity and consistency in engraving results.
- Surface Preparation: Ensure that the glass surface is clean and free from any contaminants before commencing the engraving process. Use isopropyl alcohol and a lint-free cloth to prepare the surface for engraving.
- Appropriate Engraving Techniques, consider using masking tape or vinyl transfer tape to protect the glass surface and minimize the risk of damage during the engraving process.
- Design Considerations: When creating designs for glass engraving, simplicity often yields stunning results. Intricate designs may compromise the integrity of the glass and the legibility of the engraving.
Tips on Laser Engraving Glass
- Use a thin layer of soap to cover the area to be engraved, preferably direct or instant foaming dish soap, and rinse the soap off after the engraving job to remove any glass debris.
- Protect the glass from scratching on the metal tables in the laser cutter by placing paper towels or cloth underneath it, and avoid sliding objects around on the table.
- Consider engraving the mirrored image into the back of clear, flat glass objects to protect the engraving from contact with food or other contaminants.
Finishing Tips
- Use a small brush to remove glass shards and alcohol for cleaning.
- Adding color to the engraving can enhance its visual impact.
- Consider a UV laser system for more detailed results in glass etching.
- Lastly, using a green scrub pad can help remove tiny glass shards from the final engraving.